 Skip to content
This is Kellis from True North Social here. And today, I’m going to go over how to create a new page within Shopify. This is something a lot of our clients ask for, when we put together a Shopify store, and I think they need a little help walking through how to create pages, and creating pages is very simple. So, I’ll just give you guys a hint on how I generally like to work.
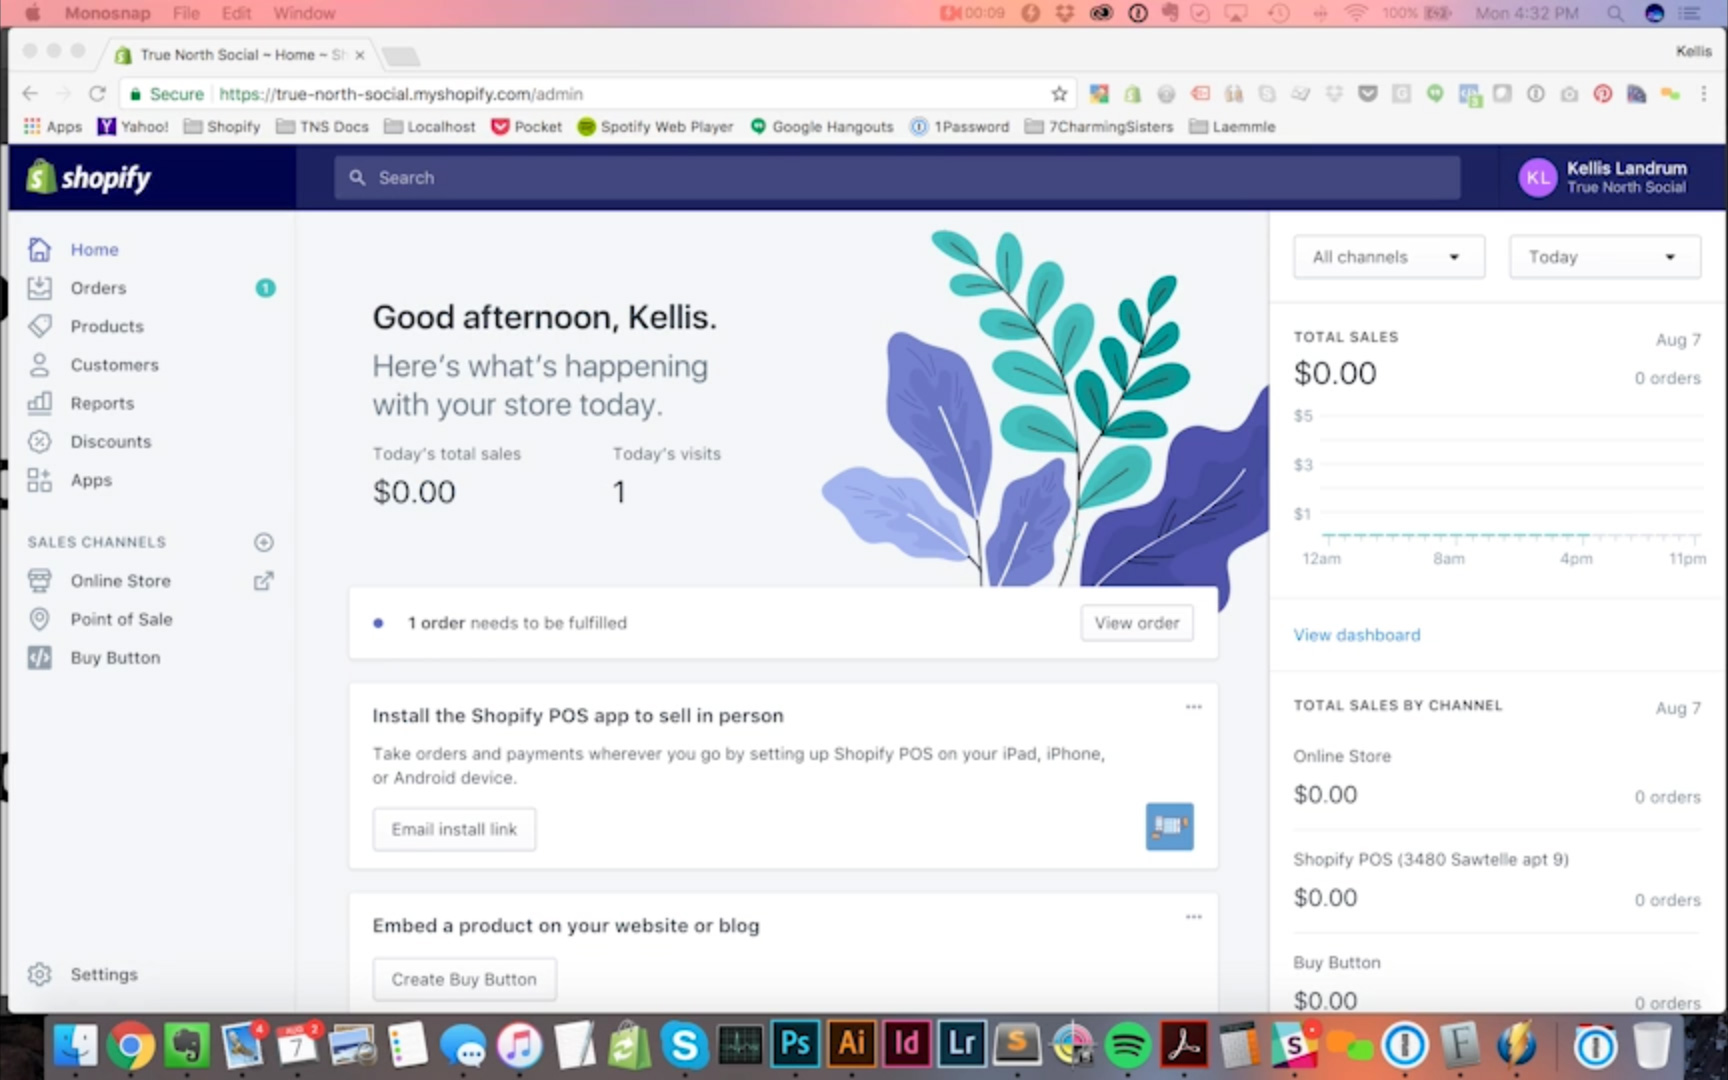
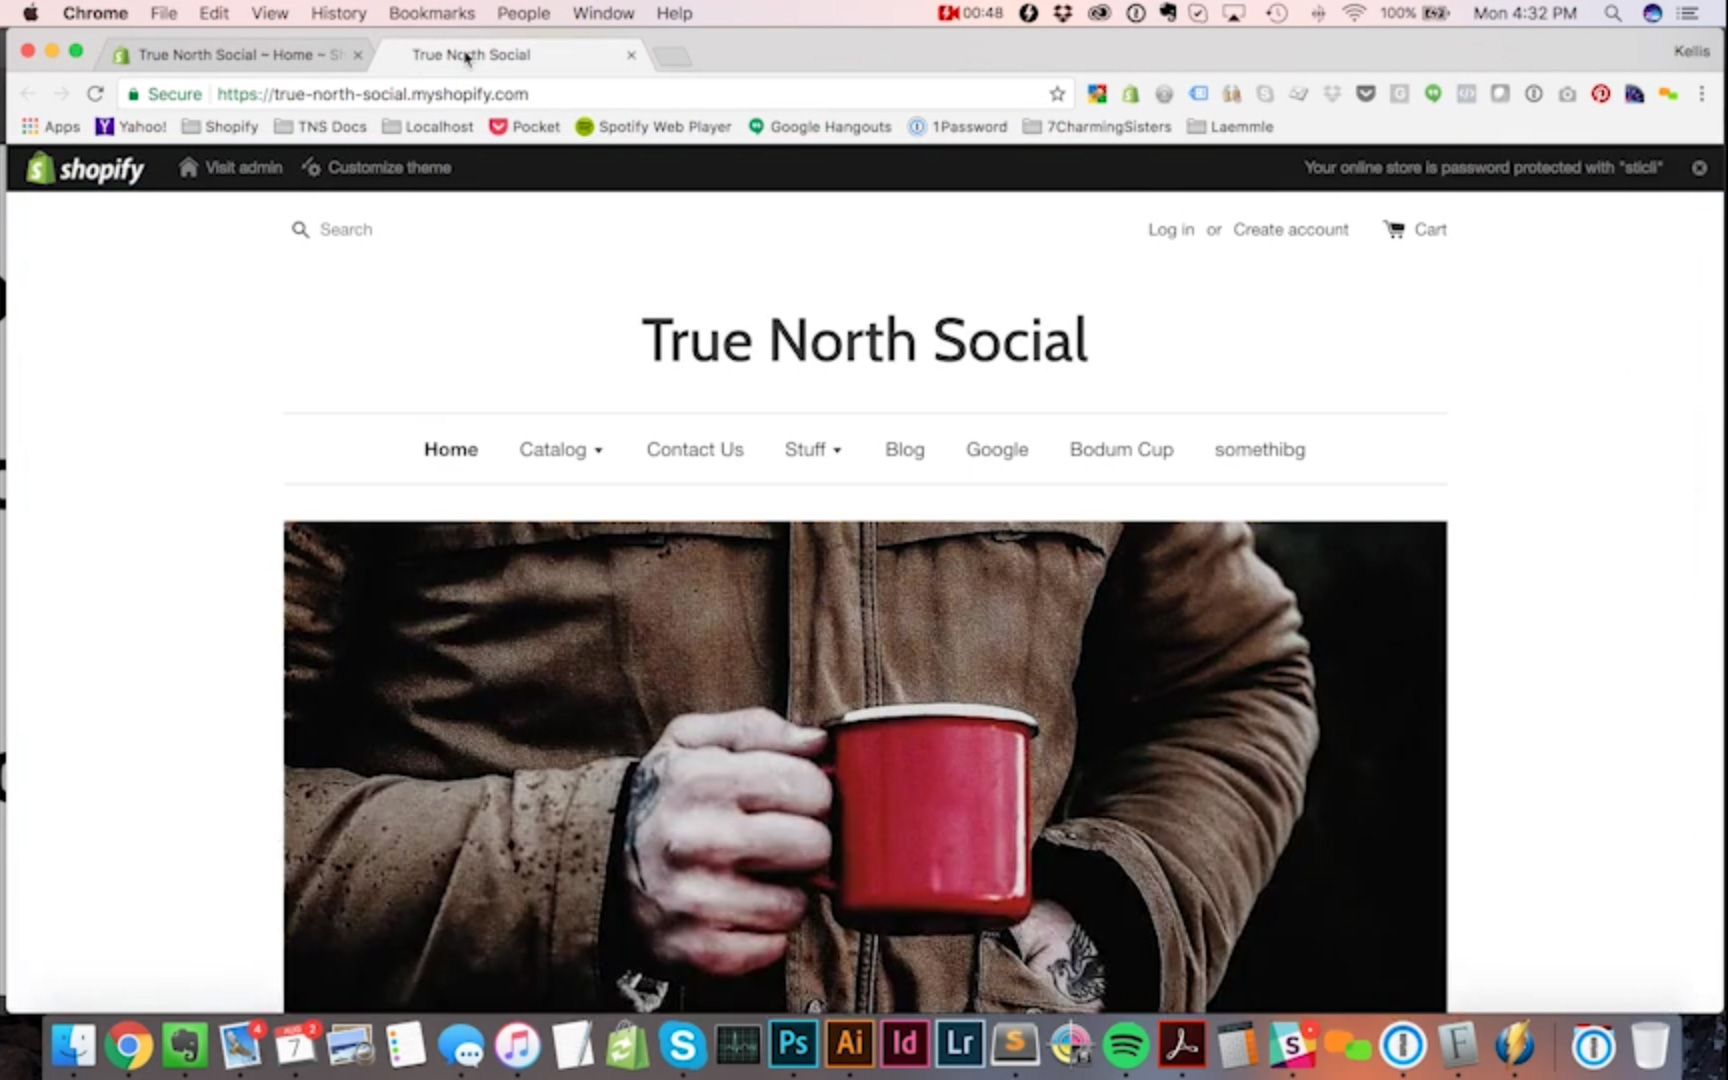
I’m in the back-end of my Shopify store here. This is a test instance we set up for demonstration purposes, if I click on my little “online store” button here, it will pop open the front-end of my store in a new tab. And I like going back and forth between my Shopify admin and the front of my Shopify store, just so I can kind of get an idea of what I’m looking at, and make sure I saved all my changes and everything is good to go.
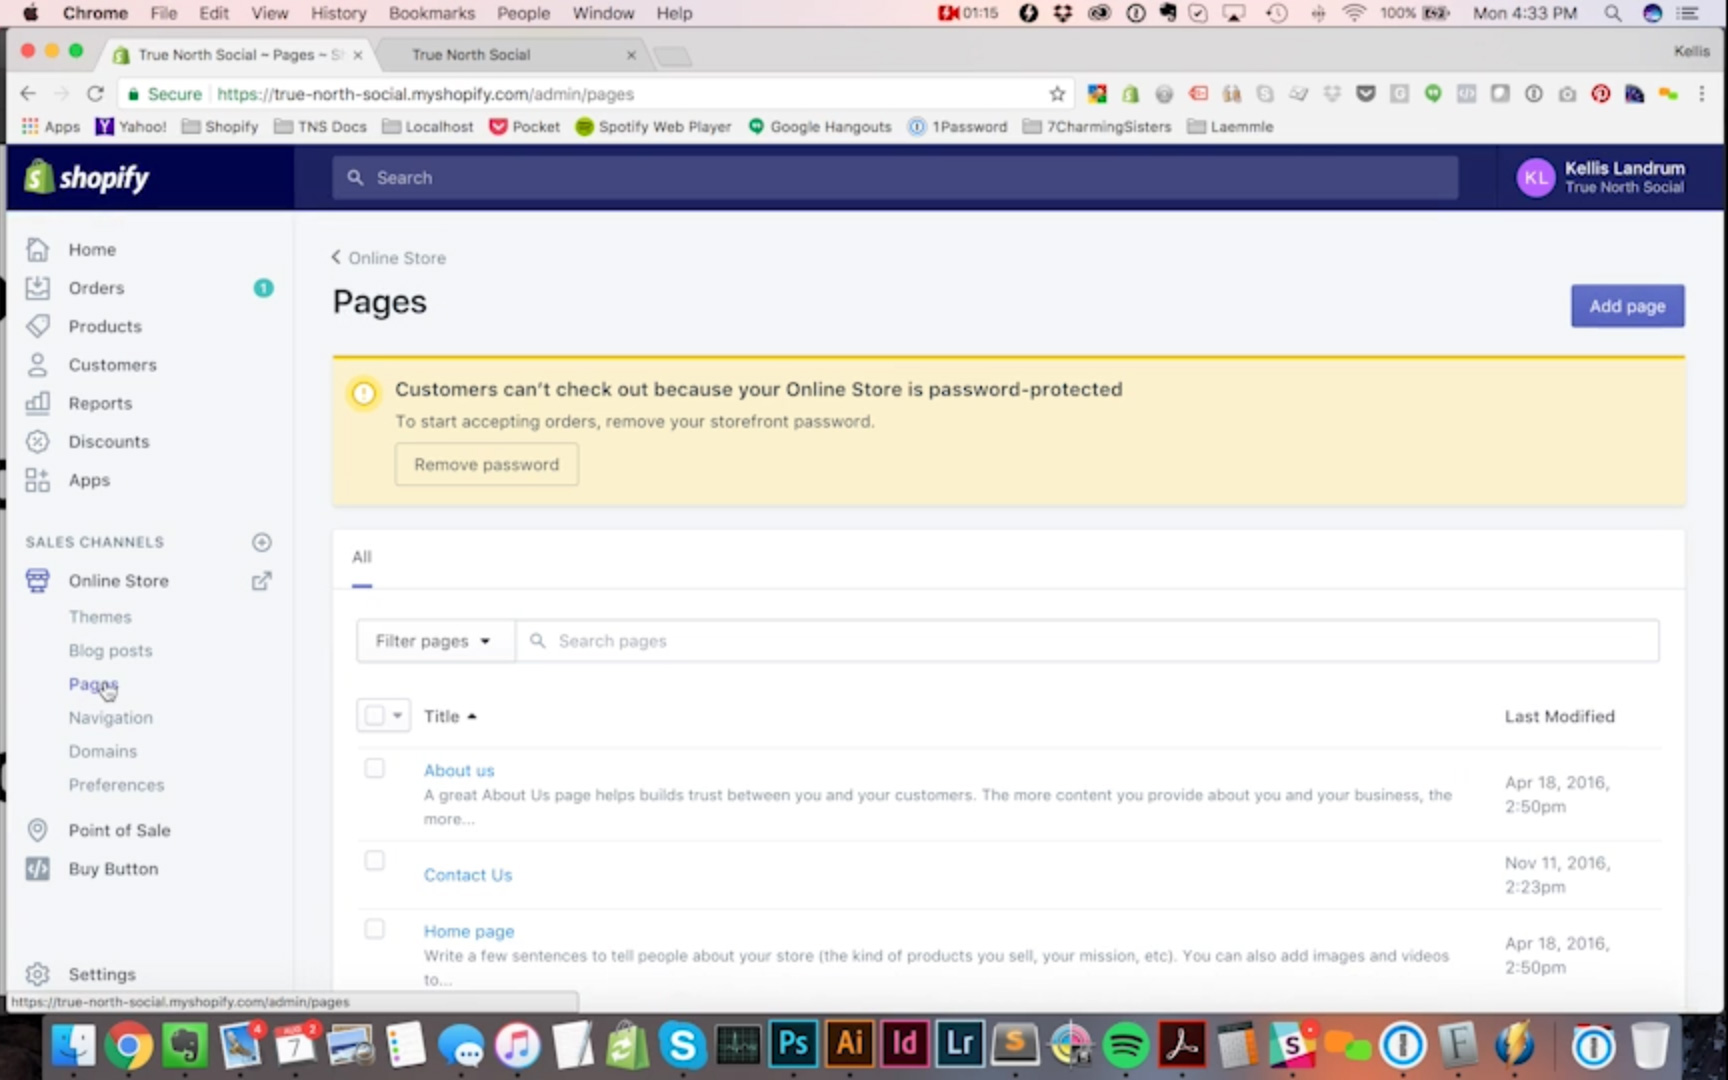
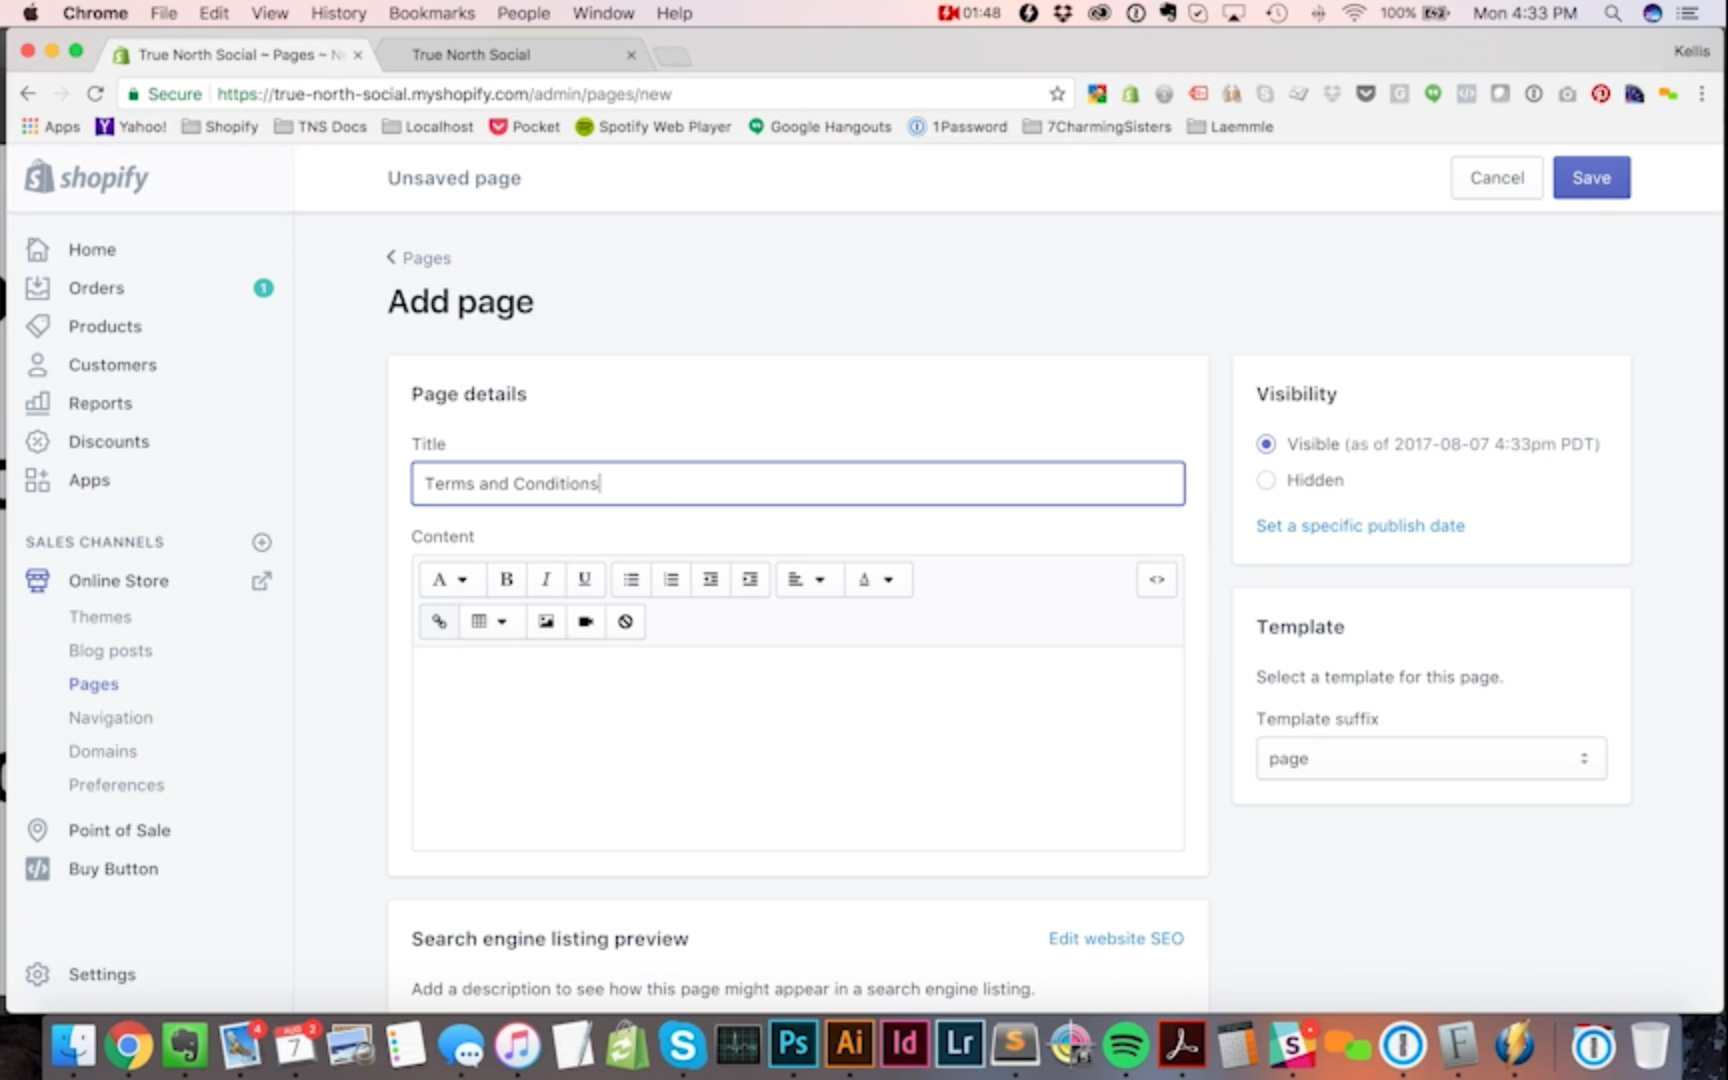
So, let’s take a look at how to create a new page. So, pages are down here in the Online Store menu. If I click on that, it will reload and I’ll see a new list of options here, and I wanna click on pages. So, this gives me the Pages menu, and I’ll see a list of all the pages that have been created in my store so far. But let’s look at how to add a new page. So, I’m gonna click on the Add Page button over here. And this will give me all the basic stuff I need to create a new page.
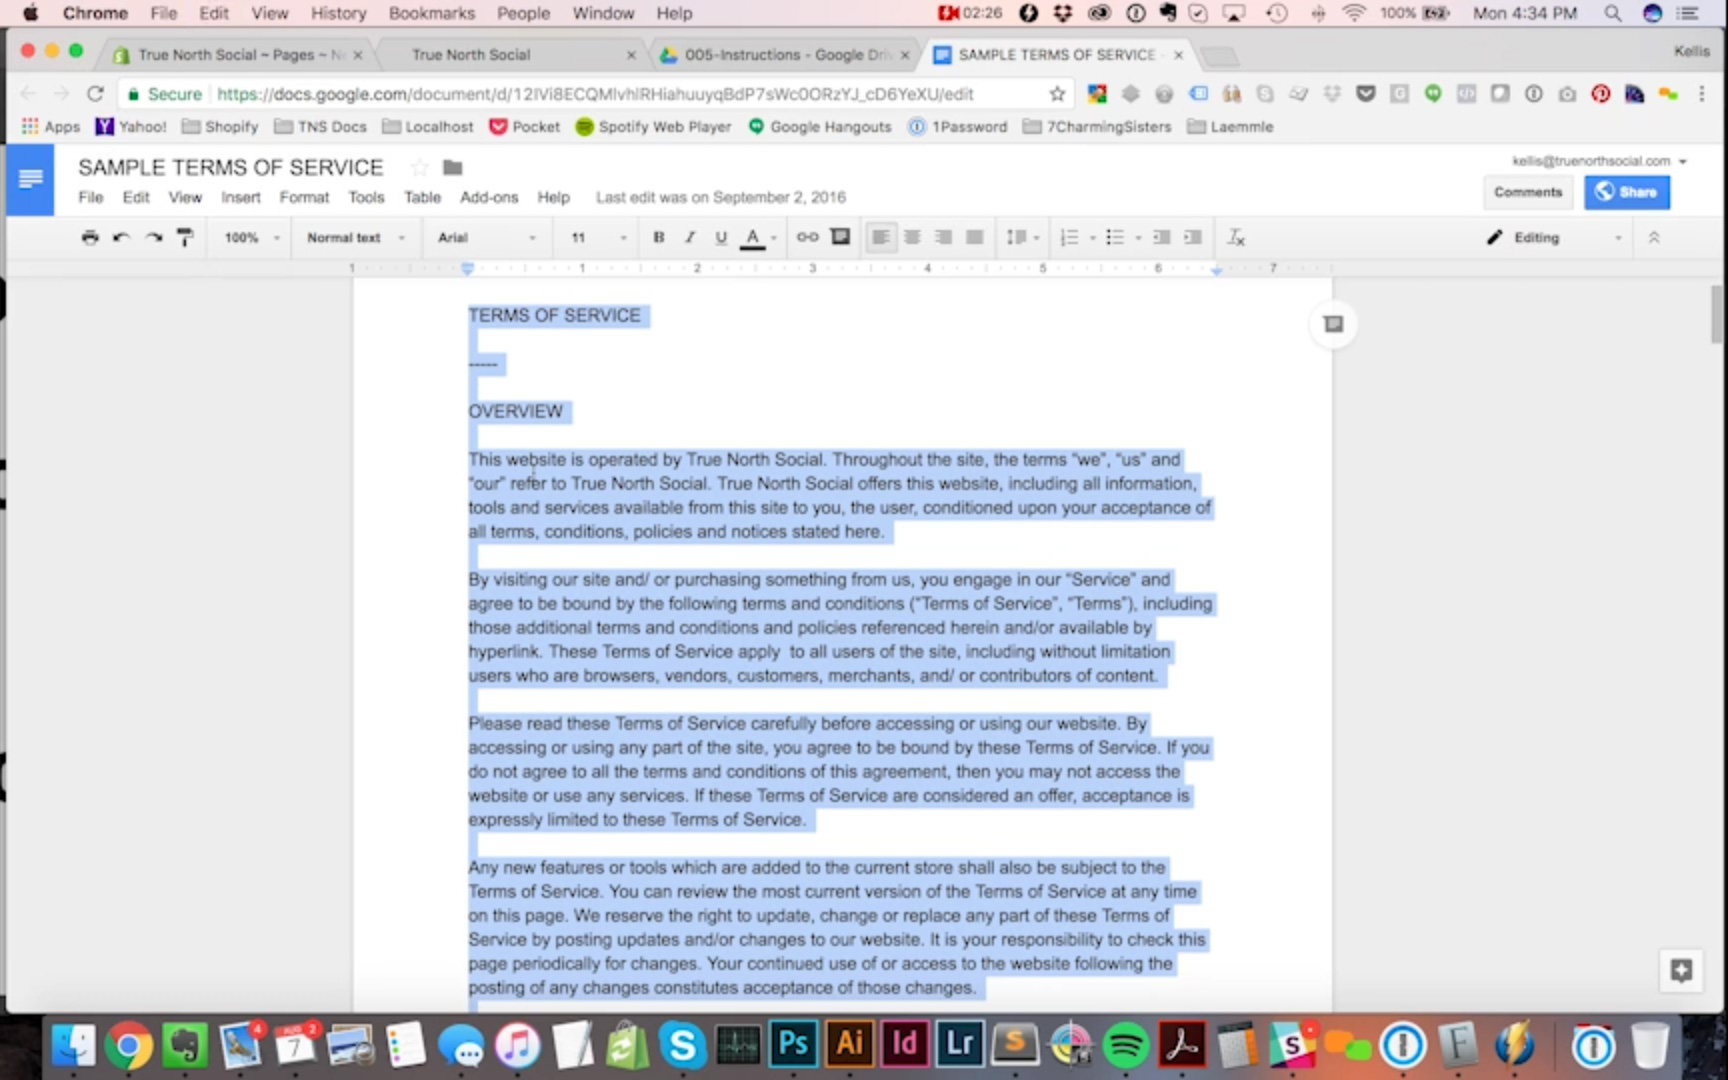
Every page will need a title. So, I’m going to add a new page to my store, called Terms and Conditions. Which most online stores will have. And I need to add some content to my page. So, I just generally happen to have a default set of terms and conditions here, cause we work with a lot of different clients. “Sample Terms of Service”. Let’s open this up.
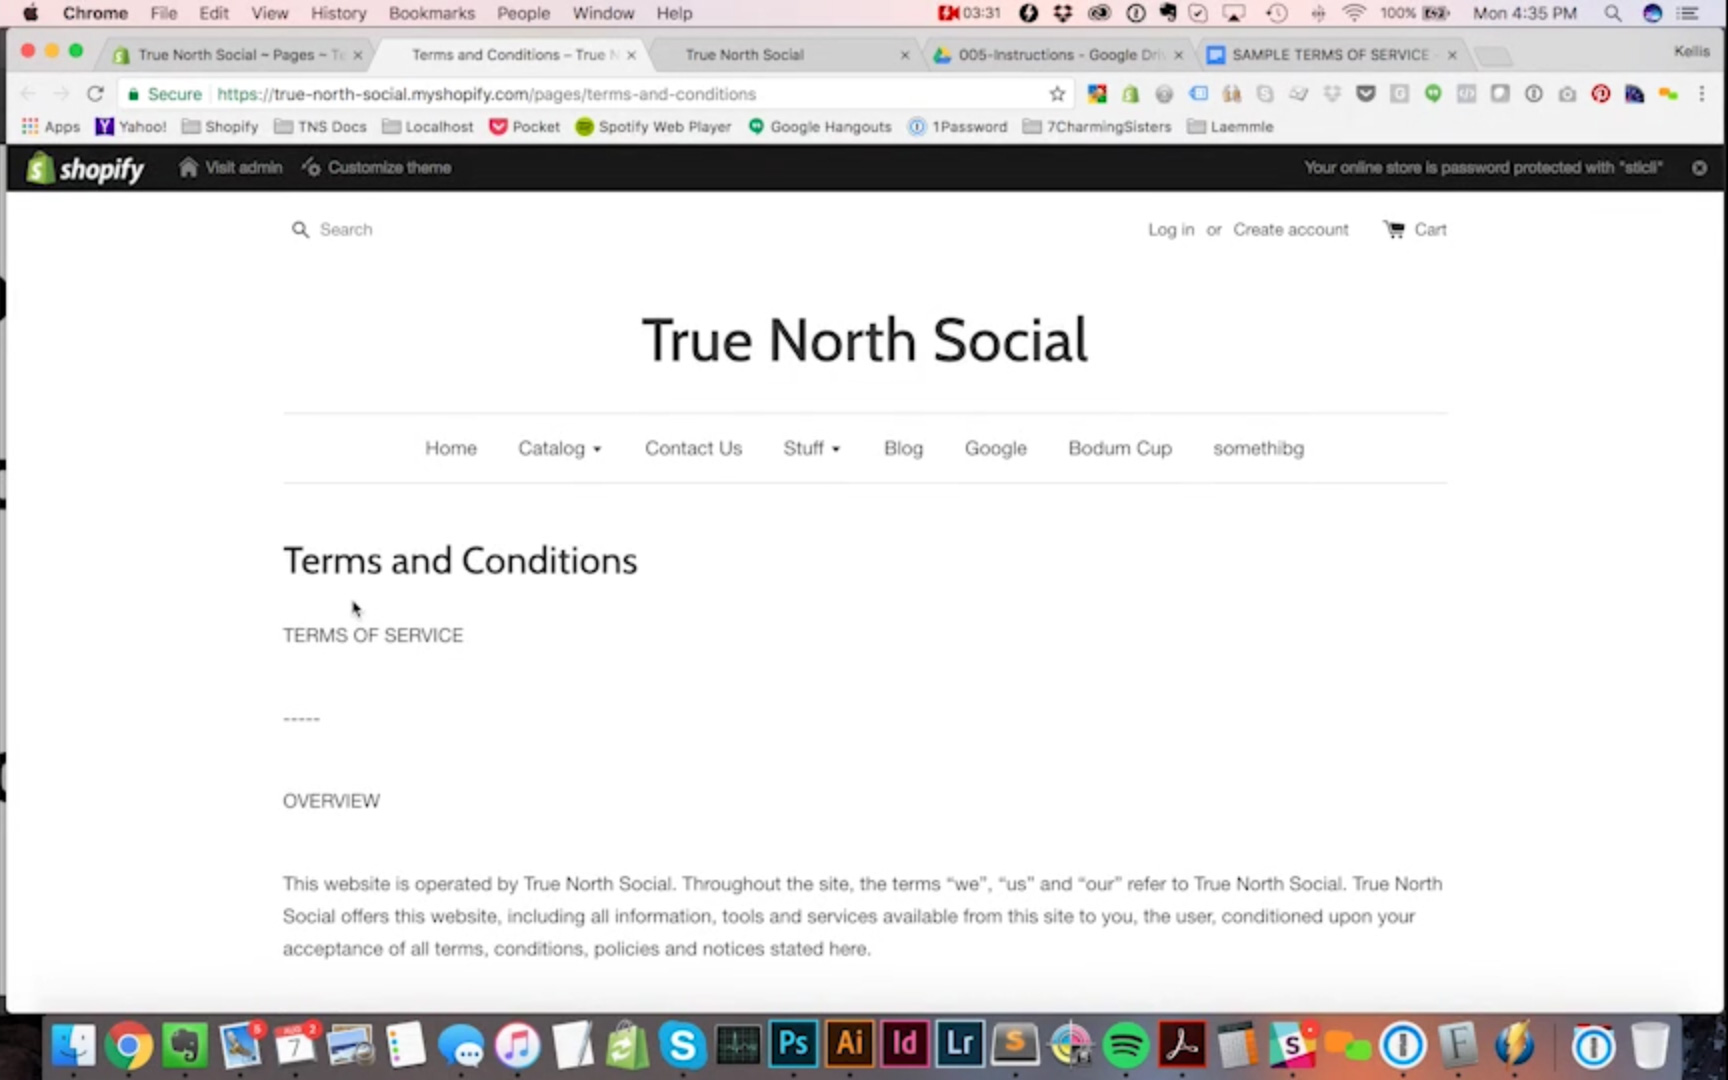
And I actually got this from Shopify, so if you Google Shopify sample terms of service, you will be able to find this document. And this is a good sort of starter for any sort of terms of service you might want to do. I’m just gonna paste that right in there, and I am going to save my page. So, that’s the basics of a page. This WYSIWYG editor here will allow me to add text, right? And as I scroll down this thing, once I save the page, it will show me an SEO preview. Shopify will take the title of my page and make it the meta description title, when Google… when someone Googles your terms of service, this page were to come up. It will come up pretty much like you see, right here. All right?
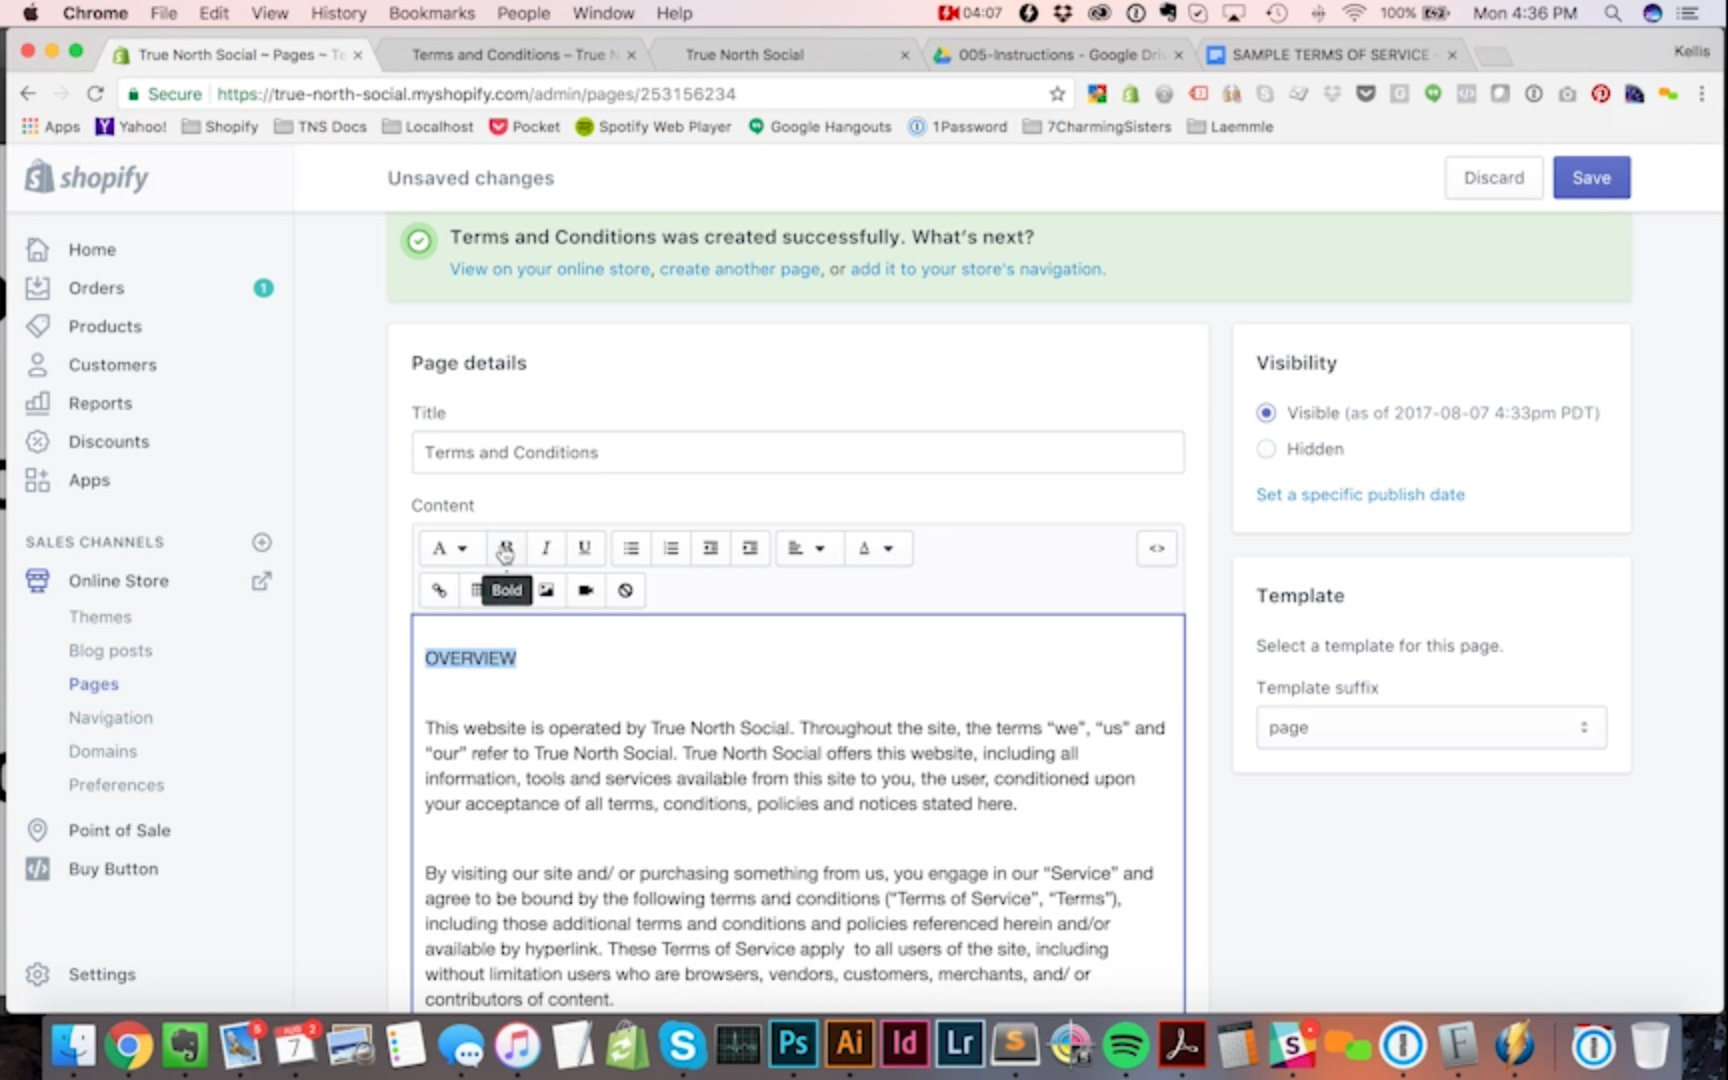
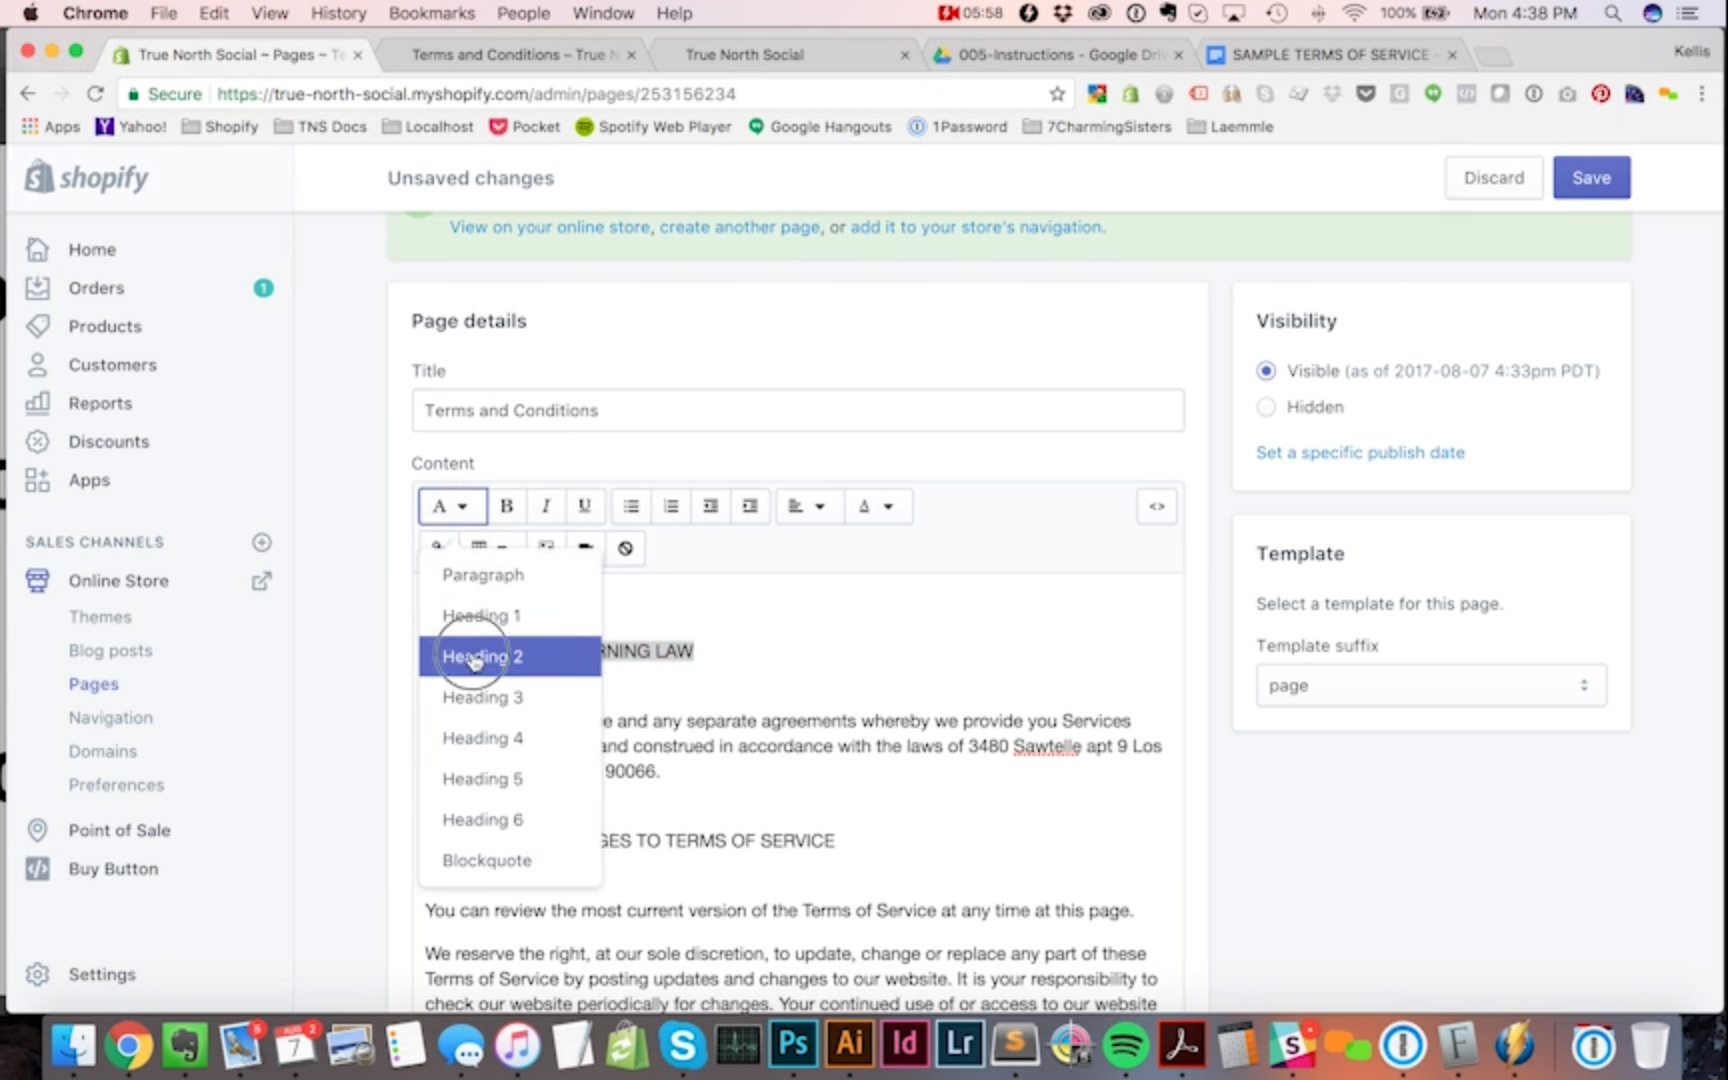
Now, as I mentioned, I like to see my… whatever I’m working on on the front-end of the site. So, I’m gonna click this “view” button right here, and this will open the Terms and Conditions page in a new window, so I can kind of scroll down and see it. This is a good start. But let’s see… I don’t really need to say Terms of Service since I already have the page title up here. Maybe I wanna make these bold, let’s say I wanna edit this a little bit. I can go back in here, and I’ve got this WYSIWYG editor, which is very handy. I think you’ll see these kinds of WYSIWYG editors in most content management systems, and Shopify has their own. So, first thing I’m gonna do, is I’m going to delete this stuff. And I’m gonna say: overview. Ok. I want to make this bold. Actually, you know what? I don’t wanna make it bold. What I wanna do here is I want to make this an H2.
H2 is a semantic piece of formatting, formatting in HTML. And it just tells Google, like: this is an important thing on the page. H1 is usually the page title, up here. And if you have sub headers, underneath it H2 is a very common style that you would apply to them. So, I’m gonna make these all H2. This will kind of separate out different sections of my page. A very standard way to kind of edit some things so people can see what they’re looking at. Terms and Conditions and FAQ pages tend to have a lot of these. There’s lots of sections to this. It’s a very common thing for e-commerce to have a lot of different little legal things that you wanna have in here. Generally, the basic things you wanna outline in terms and conditions are your shipping and return policy. Those are the things that will get the most questions about, and that will change a lot from store to store, because depending on your type of product… some products are very easily returnable, some are not. If you’re selling food, and someone has opened the package, you obviously wouldn’t wanna take that back. But you know, for, I don’t know, clothing or a pair of shoes, you might. Digital content, that might be a tricky one. But let’s see.
Ok, so there’s… see how quickly I was able to mark up headers for 20 different sections. So, I’m gonna save this, and I’m going to close everything on the front end here, and then I’ll click on “view again”. And now I see, here is my H1 header, for overview, section 1, section 2, general terms and conditions. Ok, that’s some great stuff. Now, there’s a few other things I wanna do here. Let’s say I wanted to add a link. This is my company, True North Social. Let’s say I want to link to a website. All I really have to do here is copy this URL and… see, I’ve highlighted this text here, this is the text I wanna make into a link. So, I click “Insert Link” here, and I can paste the text into it. I can create a link title, this is very nice for some SEO value, it will just give Google another hint as to where I’m trying to send people. Let’s say, when I… when people click on this link, I want it to open in a new window.
So, I can insert my link, and now I can see this text turns purple and it’s got an underline. I’ll hit my save button and then go over here and refresh my page. Now I can see this is linking. Click on it, and that works. So, a very common thing to do, add a link.
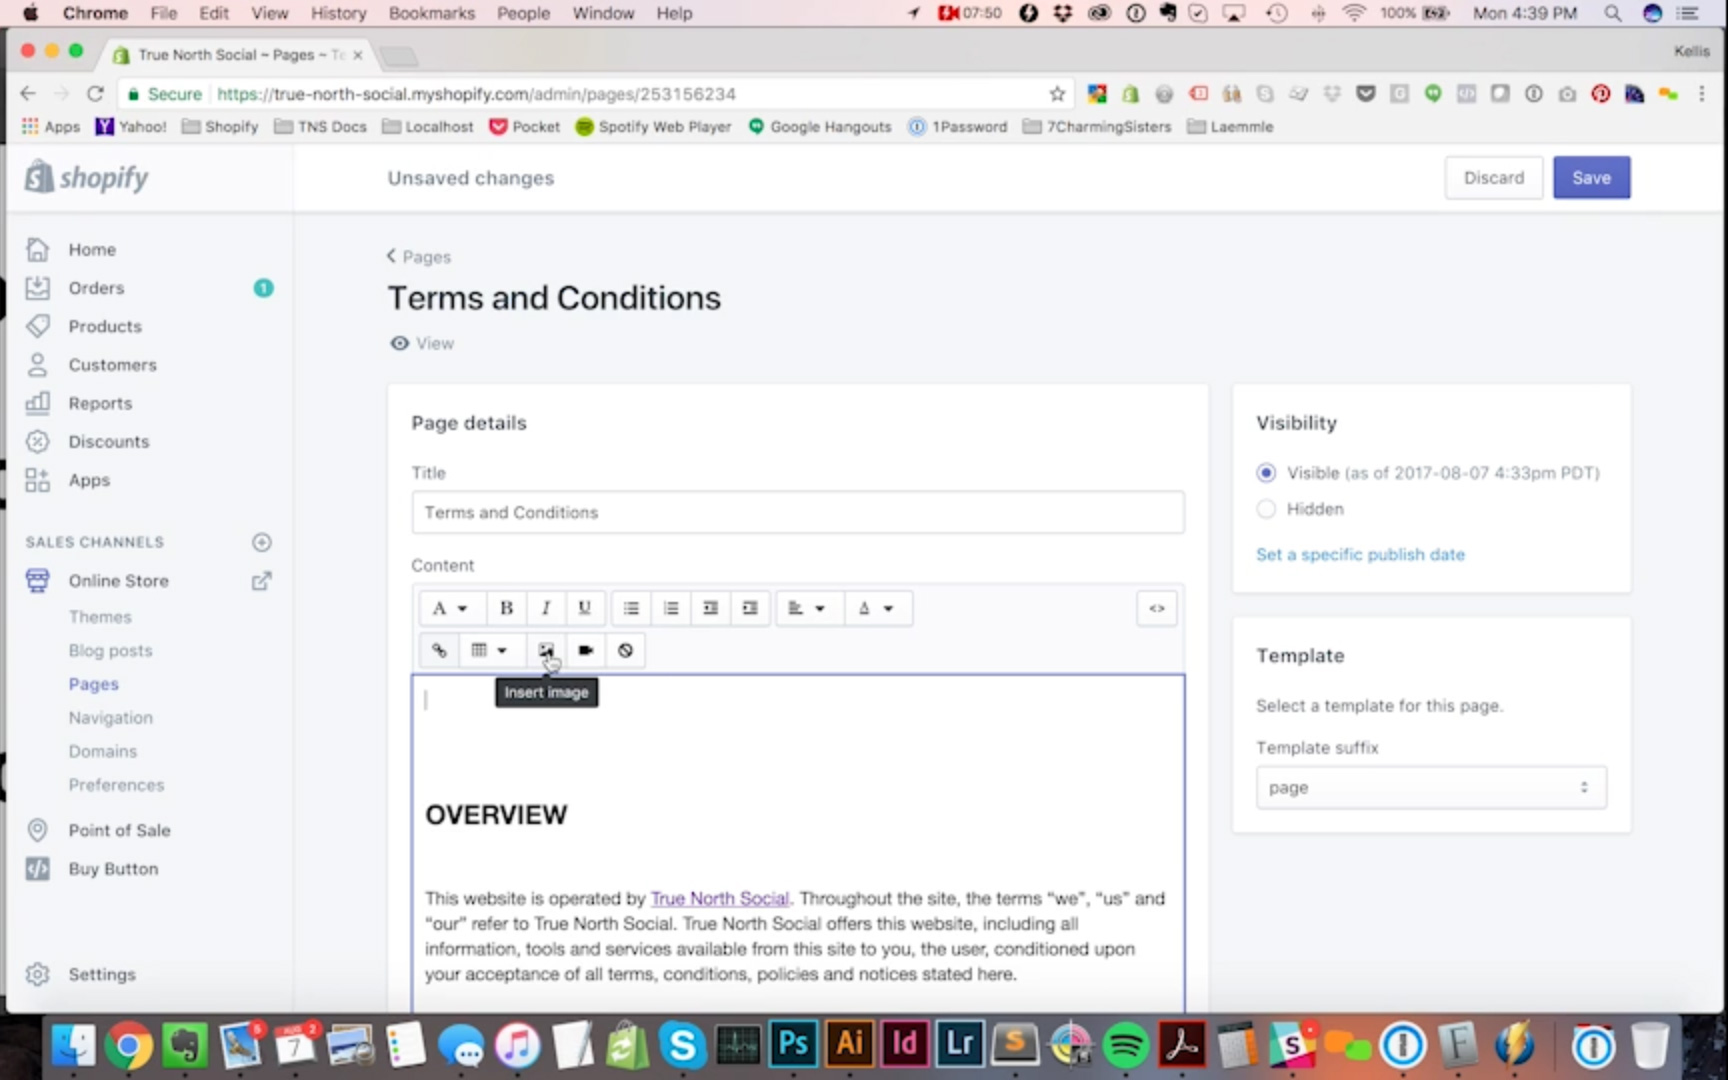
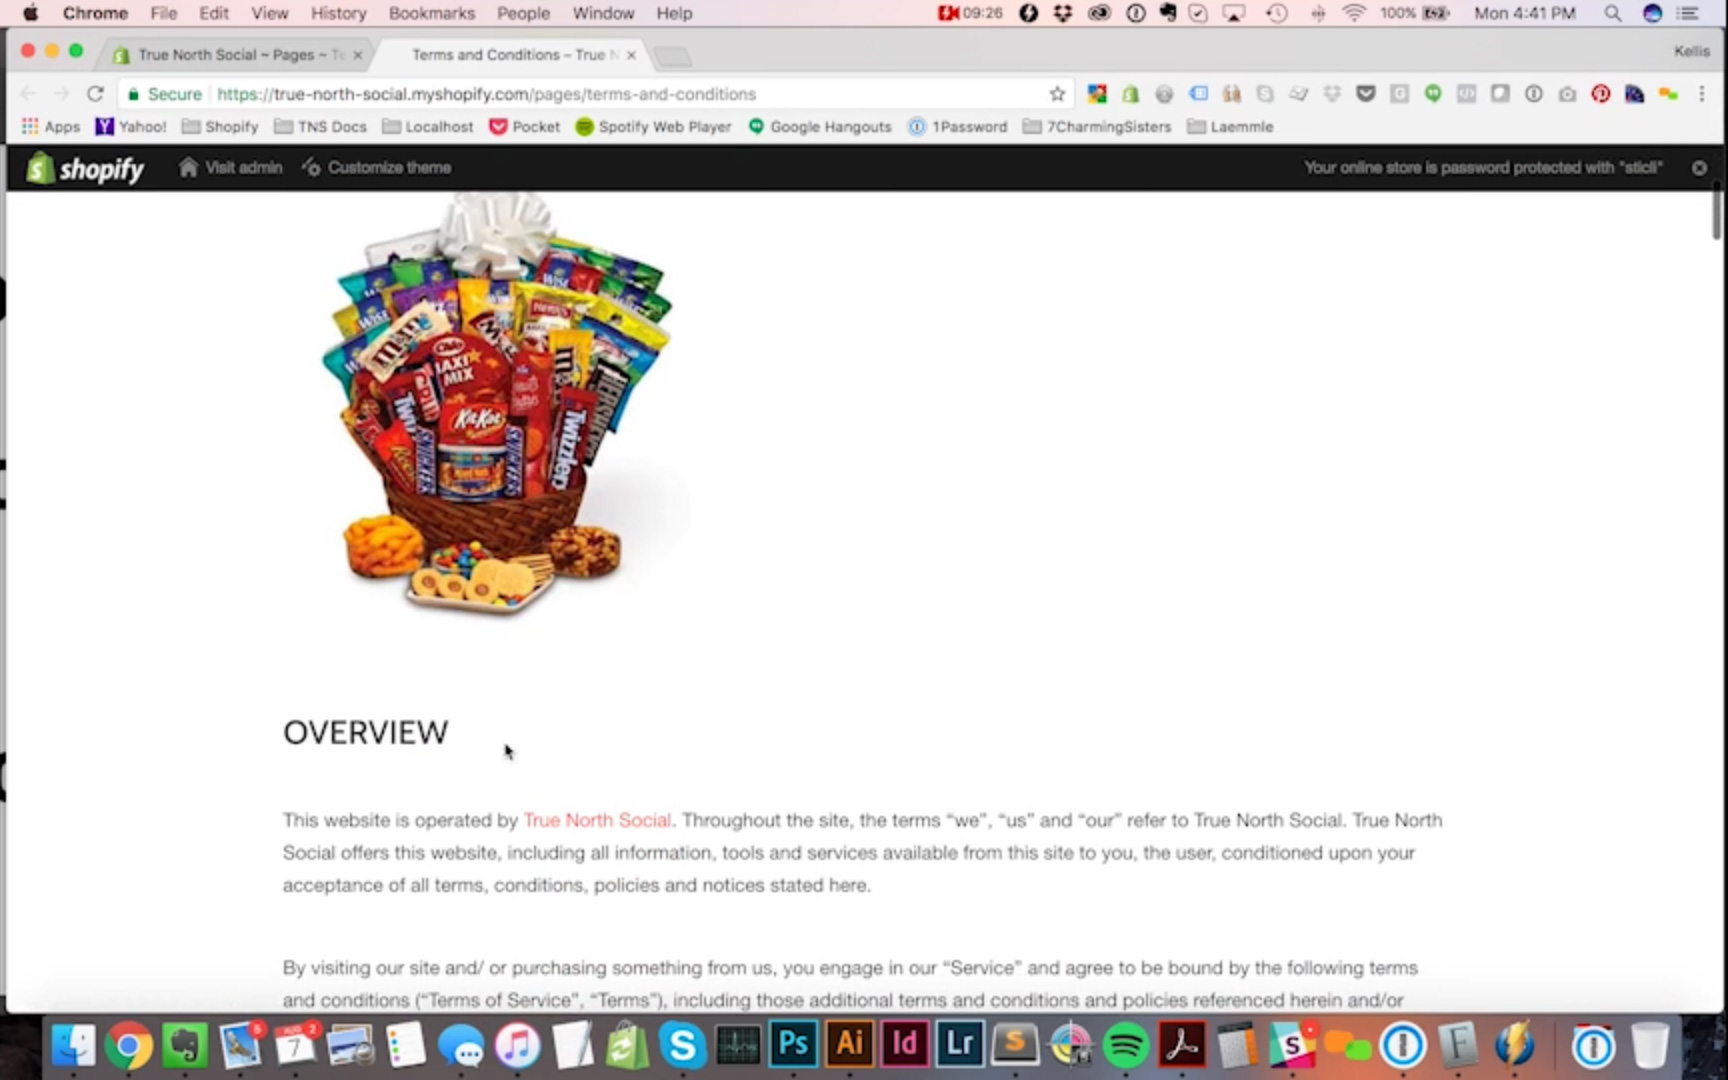
Let’s say I want to add a picture to this page. Terms and Conditions pages don’t usually have pictures, but let’s say you are creating another type of page and you wanted to insert a picture. I can get into my editor here, I can hover over this “insert image” here. And these are some images that are already in my system. I can upload if it’s anything… anything… or I can add any picture that’s already in my file already. Let’s say I wanna upload something new off of my desktop here. Let’s see. I’ve got… say I wanted to add a picture of some candy. Well, I can open that, upload my file, and I pick that one.
Now, one thing, it’s a little tricky about the way Shopify has done this. They automatically format the picture to 480 by 480. Now, that’s… unless you have created a photo that is 480 by 480, this will not be the right size, right? So, I have to click on here, and say: I want this to be the original size. It also gives me a variety of different choices. But if I pick one of these, it will force it to this size, or within this boundary. If I want it to be the actual size of the photo, I need to pick “Original”. And I can write some alt text here, which is always SEO-friendly, it’s best practice. So, I can say: basket of candy, right? It’s going to be my alt text. So, I can insert this image, and now I can see that’s been inserted in here. I save this, and I can view once again on the front-end. I can see there’s my picture. There’s my titles, there’s my link.
You can go through with the WYSIWYG editor and you can try any of these different controls, you can create lists, you can outdent, and then… a lot of the same things you would expect to do with a Microsoft Word formatting, that kind of thing. But this is a very handy little text editor. Now, let’s say, for the sake of argument, I wanted to put some HTML into my page. I’ve got this little button here that says: Show HTML. And this will show me actual code involved for the page. Now, you may be comfortable with writing code, you might not. In some cases, you may have to, right? And one of the most common cases you have to add some HTML to a page is if you want to add a video, right? So, let’s say I go to YouTube and I have a… oh, let’s see. Game of Thrones Trailer I want to put into this page. So, there is this picture. And on YouTube, any video that you can find on YouTube will include this little share link down here, and when you click on it, it will say “share”, you wanna click on “embed”, and this will give us some code. This will say: iframe, it will give the width and height, and you can copy this and paste it in just the way it is. I’m gonna put this at the top of the page, this will be the first thing on this page here.
So, I’m gonna paste that in and then hit “save” here. Let’s go back and refresh my page. And now, I’m seeing this video at the top of the page. Adding a video from YouTube is just that simple. If you wanna add a video from other places, it might be a little more complicated. But this is the very easy way to do it. So see, creating pages in Shopify is very, very simple, right? Now, one of the things you may ask yourself, and I’ve had many clients ask me this, as soon as we create a page, is: where do people see this page on my site? Well, the answer is, they can only see this page if you… if they have a link right now, because we haven’t added this page to the navigation in the header or the navigation in the footer.
This is because, believe it or not, there’s some instances where you may not want to have a link to a page from within your navigation. You might wanna create landing pages that, let’s say, if you run Facebook ads and somebody clicks through to a landing page that has some special promotion on it, you might not want to add that to the navigation. So, you don’t have to! You can just create a page and not link it anywhere in the navigation. If you do want to add this to your navigation, you can, and we will cover that in another video. Just look through our blog and see if you can find our post on how to add… how to edit, I should say, your navigation. That’s all for today. Thank you.
Check out all of our posts in the Ecommerce Website Design series:
E-commerce Website Design: Series Overview
https://truenorthsocial.com/ecommerce-website-design/ecommerce-website-series-overview/
E-commerce Headers and Footers – The most underrated piece of your Online Store
https://truenorthsocial.com/ecommerce-website-design/e-commerce-headers-footers-the-most-under-rated-piece-of-your-online-store/
Homepage Banner Best Practices for Shopify Online Stores
https://truenorthsocial.com/ecommerce-website-design/homepage-banner-best-practices-shopify-online-stores/
How to make a great homepage for your E-commerce Website
https://truenorthsocial.com/ecommerce-website-design/how-to-make-a-great-homepage-for-your-ecommerce-website/
What you need to know about your E-commerce Shopping Cart Page
https://truenorthsocial.com/ecommerce-website-design/what-you-need-to-know-about-your-e-commerce-shopping-cart-page/
How To Create New Products in Shopify – Video Tutorial
https://truenorthsocial.com/ecommerce-website-design/create-new-products-shopify-video-tutorial/
How To Create Collections in Shopify – Video Tutorial
https://truenorthsocial.com/ecommerce-website-design/create-collections-shopify-video-tutorial/
How To Create New Pages in Shopify – Video Tutorial
https://truenorthsocial.com/ecommerce-website-design/create-new-pages-shopify/