Facebook is one of the best marketing channels when it comes to advertising. Properly managing Facebook Ad campaigns have been the key for many businesses in unlocking the next level of success. Even with this being the case, there are still plenty of businesses that market themselves online and are not taking advantage of all that the Facebook Ads platform has to offer.
Here we’ll go over adding Facebook Pixel to your Shopify store, as well as going over some simple techniques that you can use to increase your conversions.
Adding Facebook Pixel to your Shopify store
The steps here are super simple, and will have you up and running in no time!
Create a Facebook Ads account
The very first thing you’ll need to get started using Facebook Pixel with your Shopify store is a Facebook Ads account, coupled with a Facebook business page.
If you don’t have either Facebook Ads or a Facebook business page set up yet, you can follow the instructions here.
Events Manager
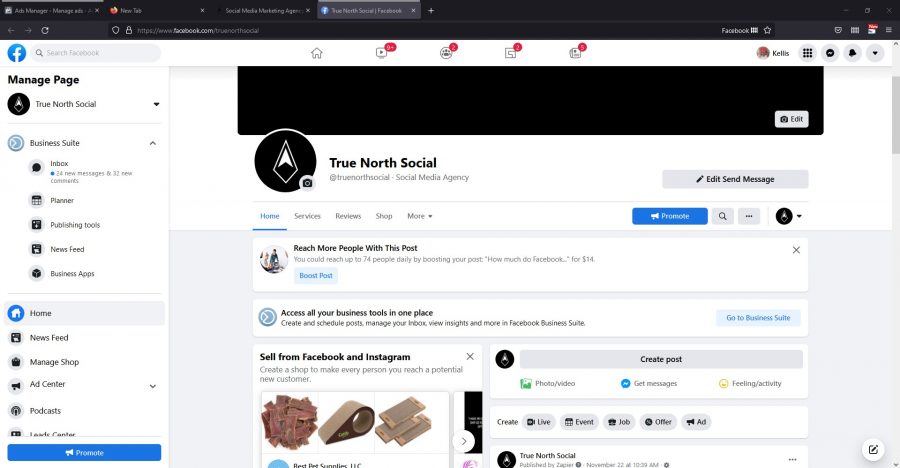
Once your Facebook business profile is set up and ready to go, you’ll head to your Facebook business manager, and select Events Manager.
Add an Event
Next, you will select “Add Events” The first option you will see will be “From a New Website.” This is the one we want to choose.
Select Install Code Manually
For this step in setting up Facebook pixel, you also have the option of selecting “Use a partner” which means that Facebook will guide you through the next step. It does take a little longer to finish though. Whatever you decide is best for you is fine, but we are going to walk through the manual process.
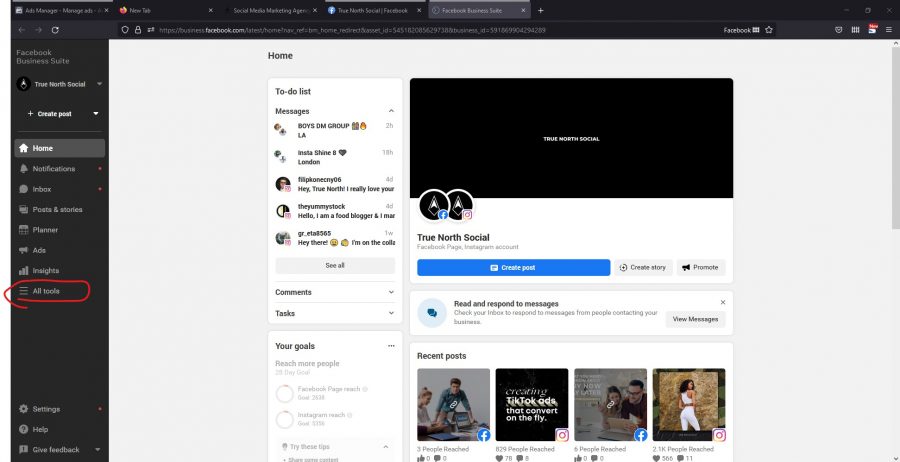
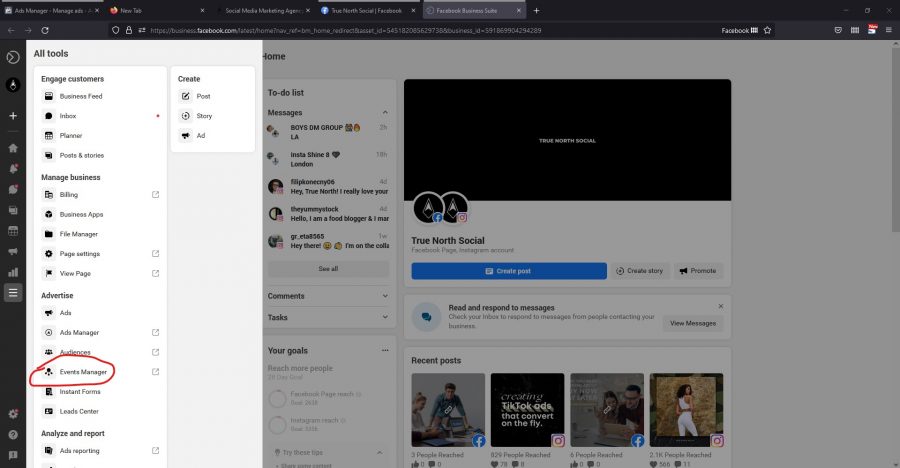
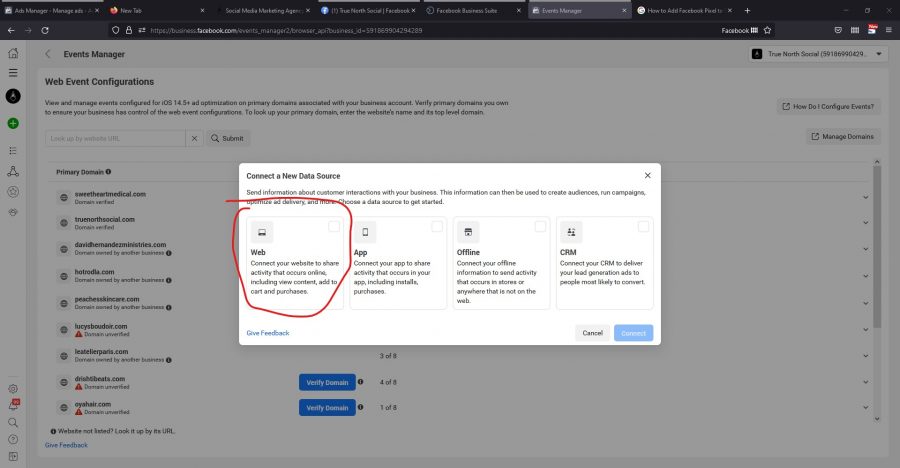
Click the green plus sign button – Connect Data Sources
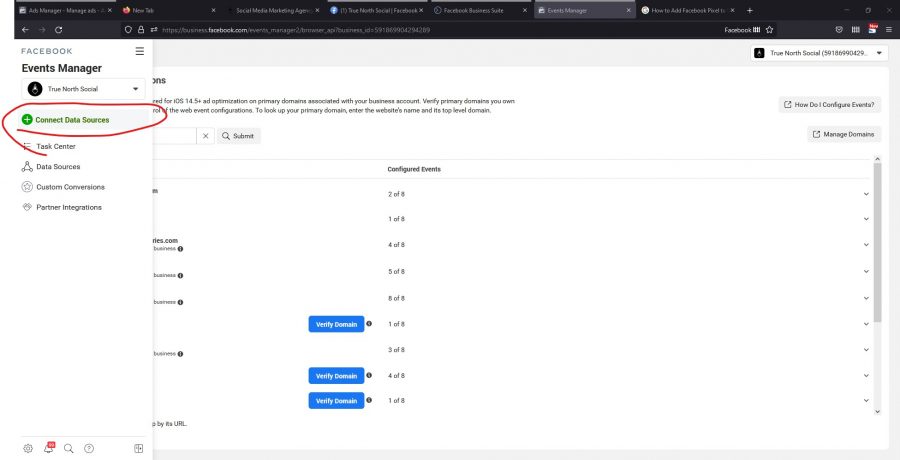
Pick your data source. Since this is a Shopify store choose “Web”.
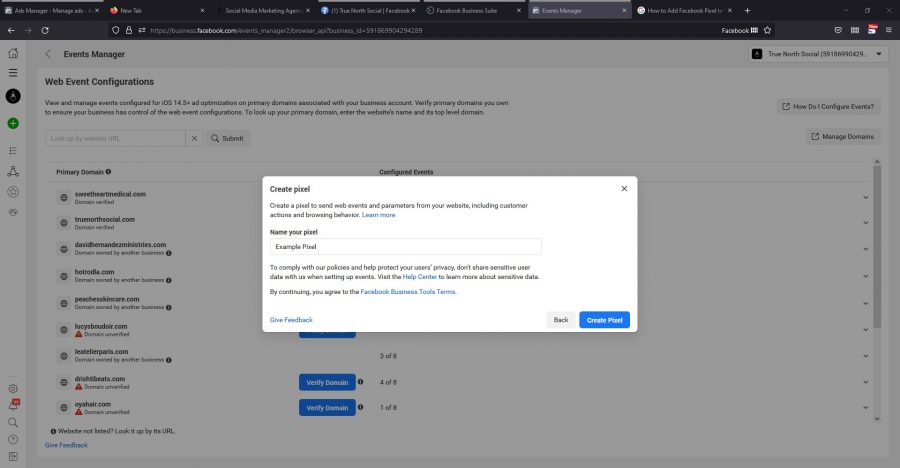
Name your Facebook Pixel.
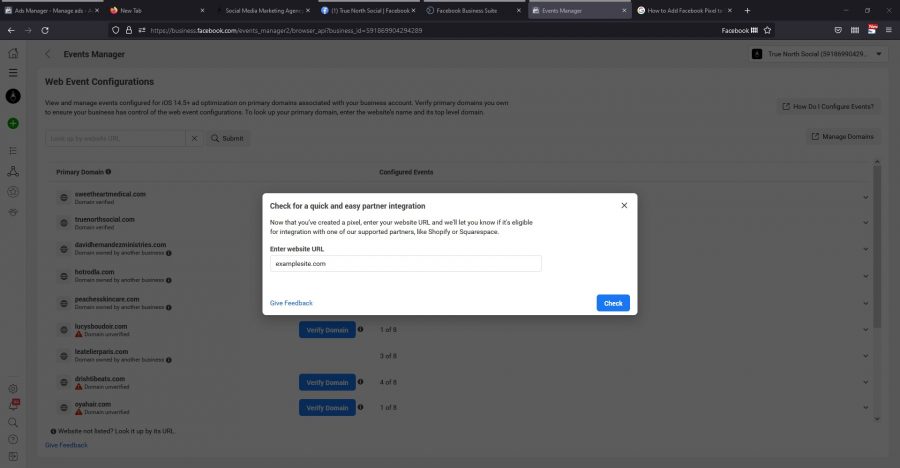
Enter your website URL.
Choose how to connect your website.
If you do not know how to install an API, choose the “Pixel Only” option.

Copy the code
Copy the Facebook Pixel ID
![]()
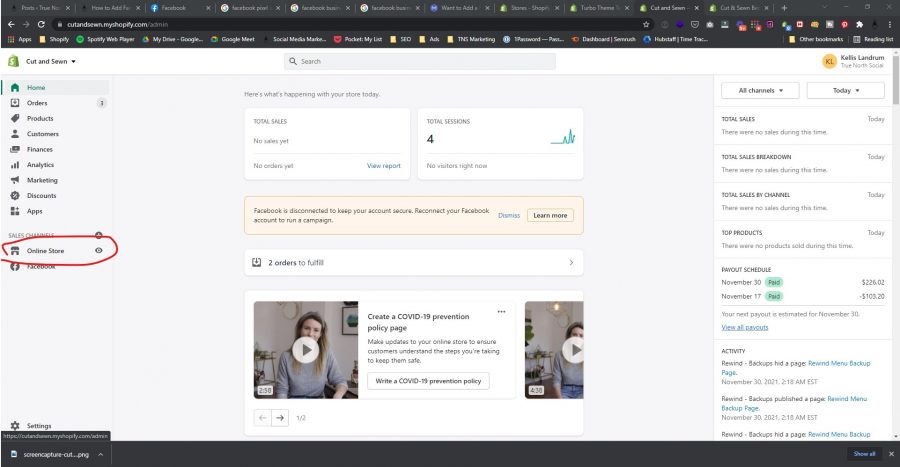
Shopify Admin Panel
Here you will head back to your Shopify store. In the panel on the left side, select “Online Store”, and then “Preferences”
Select “Set up Facebook”
If you scroll down a bit, you’ll see the Facebook Pixel section in your preferences. Tap or click the “Set up Facebook” button.
![]()
Add Sales Channel
Next, you will select the green button labeled “Add sales channel”. Take a pause at this step and read through the data sharing settings for Facebook will be able to access from you before confirming to continue.
Connect Facebook to your Shopify store
At this last step, you’ll connect all of your Facebook accounts. This includes Business Manager, your Facebook page, data sharing, etc. Finally, you’ll select Finish Setup.
That’s it! You have officially added the Facebook Pixel to Shopify! Easy right?
Pro tip: When you have Facebook pixel code set up, click data sharing settings in the drop-down menu. Enable the maximum level of data sharing. You’ll be able to see much more customer data this way.
Testing Facebook Pixel in Shopify
Now that you have Facebook Pixel ID linked to your Shopify store, you’ll of course want to make sure that everything is working as it should. The simplest way to do this is by installing a Facebook Pixel Helper extension.
After this is installed, you’ll be able to select it at the top of your browser to diagnose specific pages of your Shopify store.
Depending on what Facebook pixel events you have set up, you can try to recreate the action, and see if you receive a pixel events notification.
If Facebook Pixel ID is not working properly on your Shopify store, you will receive an error message. If you receive the error message, “No Facebook pixel found” this means you have not yet successfully added Facebook Pixel to Shopify.
You’ll want to repeat the steps above and make sure you have saved the code for your Facebook pixel to Shopify before you navigate away.
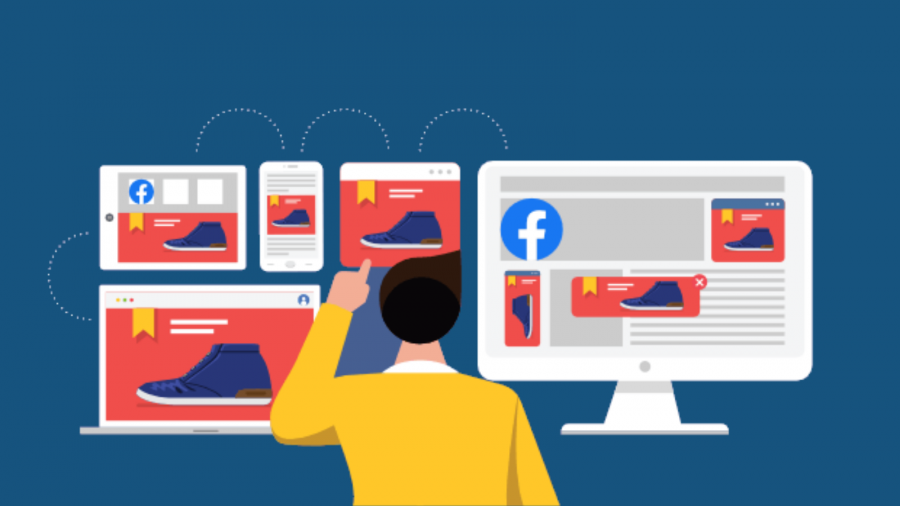
How to increase sales using Facebook Pixel
![]()
Facebook Pixel can also help you to increase your customer base and conversions.
Because of the data Facebook Pixel gives you about your customer base, you will be able to create custom audiences when creating ads.
When you create custom audiences, you allow Facebook pixels to narrow down who sees your Facebook ads and also allows you to retarget your ads.
This means that users who have previously visited your online store, thus showing an interest in your brand will see your ads.
You can take advantage of the custom audience feature by including special discounts, or other enticing offers to get shoppers to return to your store and make purchases.
This method of using Facebook pixel to target custom audiences is used by many online businesses and has a greater success rate than regular targeted ads overall. In fact, Facebook ads that target custom audiences are 76% more likely to have interaction compared to ads that are targeted to others in your target audience.
Choose your custom audience
To add a Custom Audience pixel code on Facebook is pretty simple:
- Go to the top-right menu in Ads Manager, and select Audiences.
- Select Create Audience, then Custom Audience.
- Next you will create a Custom Audience
- Here’s where you can select how to retarget your ads. You can select to retarget your ads based on:
- Engagement: these ads will target people who have interacted with your ads in the past. For example, if a user has watched your ad in full, or clicked on your ad, you’ll be able to reach them again using this option.
- Website traffic: These are people who have not only gone to your website, but have completed an action such as a newsletter signup, or adding a product to their cart.
- Customer File: These are the customers have given you their email address, either for a newsletter signup, promotion code, or an order.
These custom audiences have shown interest in your products before, so be a little bit creative with your ads and your chances of converting them will be high. For example, you can:
- Show discounts to people who have viewed your product to push for purchases.
- Show more creative product videos to those who like watching video ads.
- Show similar products to customers who have bought from you.
🤔 What No One Tells You About Custom Audiences 🤔
It’s extremely important to create your Custom Audiences as soon as possible
I’ve seen so many people with huge businesses who spent thousands of dollars on Facebook ads
And didn’t have the Custom Audiences set up
// THREAD
— Jakub Szunyogh (@JakubSzunyogh) December 9, 2020
2. Lookalike Audience
One of the more common issues that we see are people saying that they are seeing a lot of traffic, but the sales just aren’t happening.
While this can be from a few different factors, the most common one is that they are not targeting the right audience.
By targeting lookalike custom audiences, you are targeting users whose demographic information closely matches that of your existing customers.
![]()
To create a lookalike audience you’ll want to follow these steps.
- Create a Custom Audience
- From the audience creation menu, select Lookalike Audience
- Choose the country you wish to target
- Lastly, select a percentage between 1%-10% of the targeted location from Facebook users.
Pro tip: Retargeting with Facebook Pixel will only be effective if you are tracking over 1k actions each month. If you are just starting out, thus not having a lookalike audience, you’ll want to focus on audience-building ads first. Feeding audience data through your Facebook pixel will teach Facebook ads manager what your target audience looks like over a period of time.
3. Specific Page Targeting
Taking advantage of all Facebook Pixel has to offer will allow you to get in-depth with your targeting.
For example, let’s say a user goes to a particular item on your Shopify store and spends some time there. That tells you that the product is of definite interest to that user.
You can have an ad directed to that user for the product that they have been checking out, as a reminder for them to purchase it.
![]()
By showing them something they have already shown interest in, you are more likely to gain a conversion, because you are keeping it at the front of their mind.
The same goes for if a customer adds an item to their cart. You can use Facebook pixel to target them and entice them back by showing them the product again, maybe this time with a discount.
To create these types of ads:
- Select Create Custom Audience from Facebook Pixel
- Create a very specific audience that targets that buyer persona
- Select “Social Networks” for targeting. Exclude “New Web Users” and select to target the users who have visited a particular page.
- Add in the URL for the page which you are basing your targeting off of.
Congratulations on taking the first step! While getting up and running with Facebook Pixel and Shopify can seem pretty overwhelming at first, with patience and practice you’ll be able to use Facebook pixel to your success.
